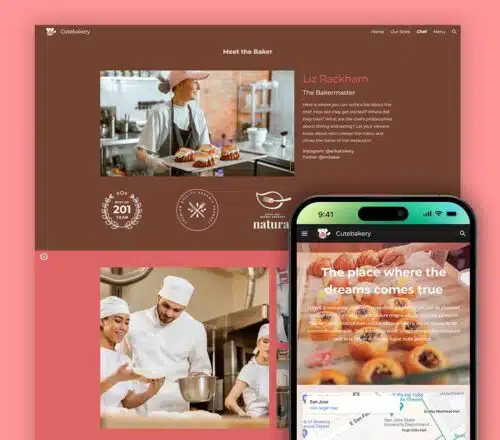
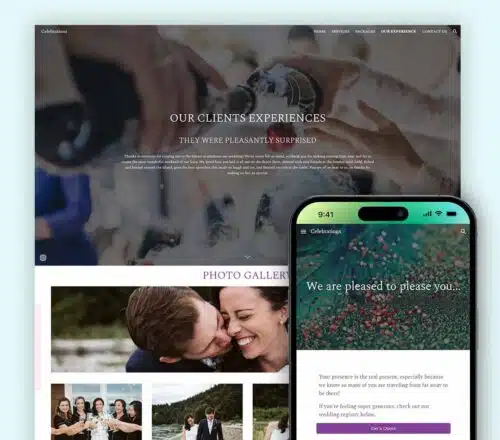
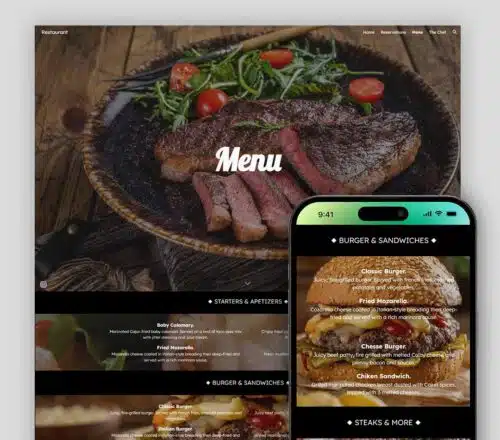
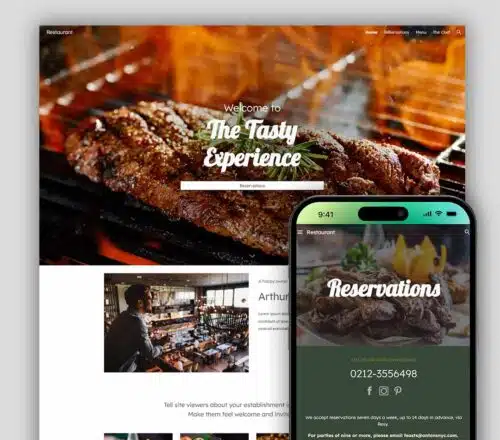
This Google Sites Tutorial guides you through creating and managing your website using Google’s Platform, a user-friendly platform for building websites without extensive coding knowledge.
Accessing Google Sites:
- Go to https://sites.google.com/ in your web browser.
- Sign in with your Google account if you haven’t already.
2. Creating a New Site:
- Click the Plus (+) button in the top right corner.
- Choose “Start a new site” or select a template to get a head start.
- Give your site a title and click “Create.”
3. Building Your Site:
- Adding Content:
- Click the “+” button in the left panel to add elements like text boxes, images, videos, and more.
- Click and drag elements to desired locations on the page.
- Double-click text boxes to add and edit content.
- Use the “Insert” menu to embed files from Google Drive, forms, calendars, and other Google applications.
- Formatting and Customization:
- Click on elements to edit their properties like font style, color, size, and alignment.
- Change the overall theme of your site by clicking “Themes” in the top panel and selecting a desired theme.
- Adjust layout options like the number of columns and spacing through the “Layout” menu.
4. Managing Pages:
- Click the “Pages” tab in the left panel to see a list of all your pages.
- Click the “Add page” button (+) to create new pages.
- Drag and drop pages to rearrange their order.
- Click the three dots next to a page to access options like renaming, duplicating, or deleting the page.
- Set a specific page as your website’s homepage by clicking the three dots and choosing “Make homepage.”
5. Publishing and Sharing:
- Once you’re satisfied with your site, click “Publish” in the top right corner.
- Choose the publishing visibility: “Public” for everyone to access, “Limited” for specific people with a link, or “Internal” for only your organization.
- Click “Publish” to make your site live.
- To share your site, copy the link generated after publishing and share it with others.
- You can also invite others to edit your site by clicking the “Share” button and entering their email addresses.
6. Additional Features:
- Explore the “Apps” menu to integrate additional functionalities like maps, surveys, and more.
- Use the “Search” bar at the top to find specific elements or features within your site.
- Access “More actions” (three dots) in the top right corner for options like editing site settings, managing versions, and exporting your site.
7. Tips and Best Practices:
- Plan your website structure: Think about the different sections and pages you want to include before building your site.
- Use high-quality images and videos: Visuals can significantly enhance your website’s appeal and user experience.
- Keep your content clear and concise: Write informative and engaging content that is easy for users to understand.
- Optimize your site for mobile devices: Ensure your website displays and functions well on all devices.
- Promote your site: Share your website link on social media, email signatures, and other platforms.
8. Resources:
- Google Sites Help Center: https://support.google.com/sites/?hl=en
- Google Sites Templates: https://support.google.com/a/users/answer/9310491?hl=en
- Google Sites Community: https://support.google.com/sites/community?hl=en

Enable Online Sales.
By following these steps and exploring further resources, you’ll be well on your way to creating a professional and user-friendly website using Google Sites!
Inquiries or looking for a custom solution?
Contact Us for more info about your business transformation. You will be contacted as soon as posible for one of our specialists to solve any question you have about this incredible service.


